Pony Bead Corn Cob Craft
If you’re looking for an inexpensive and simple Thanksgiving craft, it doesn’t get much better than this pony bead corn cob craft.
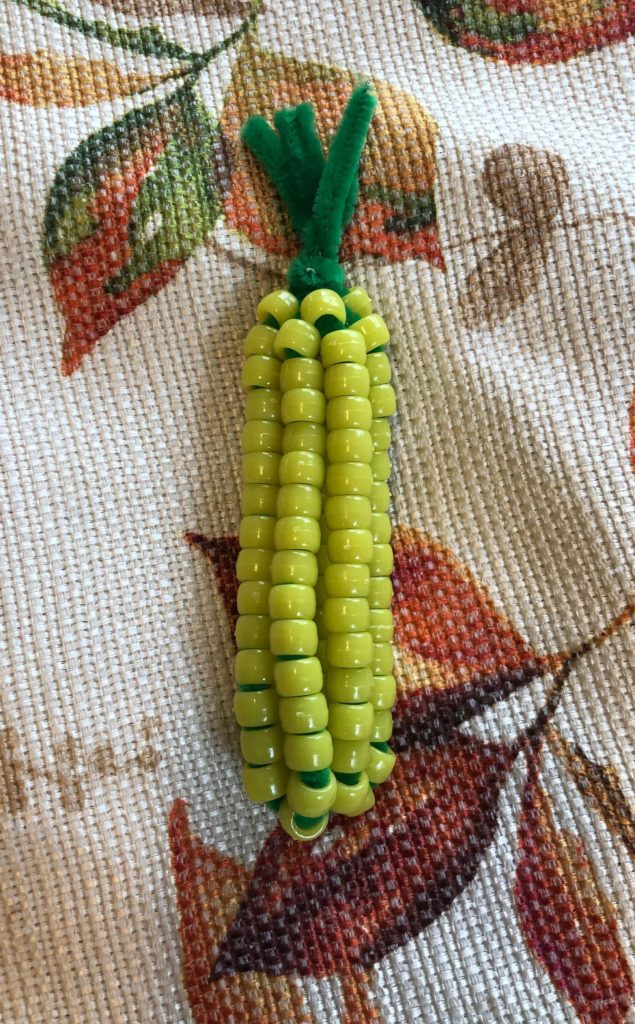
Just look at these adorable mini corn cobs!
Materials
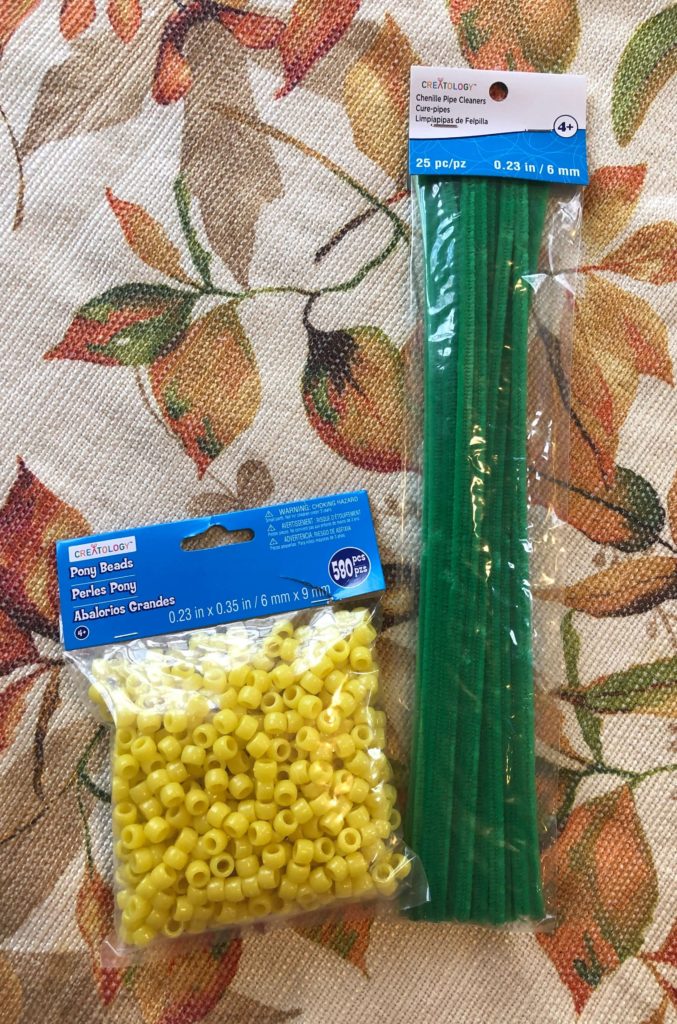
Notes
Our corn is all yellow, but you could also use multicolor pony beads since heirloom corn comes in a variety of colors.
Pony Bead Corn Cob Craft
For each corn cob, you’ll need 3 chenille sticks and about 90 beads.
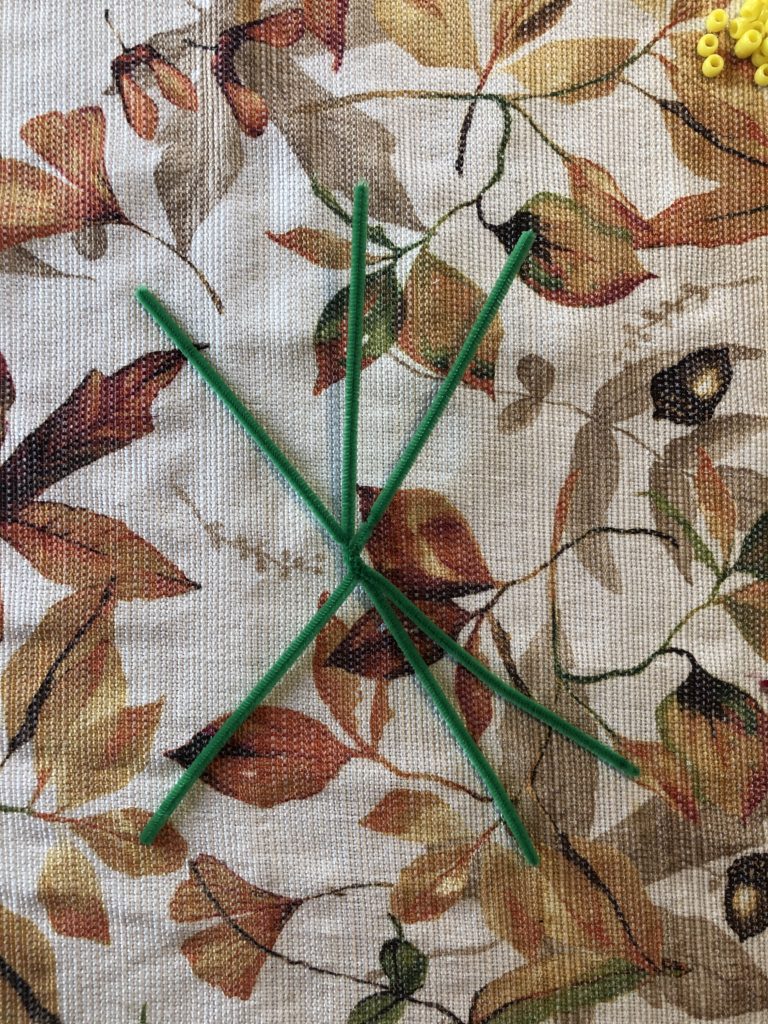
Holding 3 chenille stems together, pinch them at the center and twist the 2 sides in opposite directions. Three twists should be enough to keep them from disconnecting while you work.
The result is a spidery 6-pronged web.
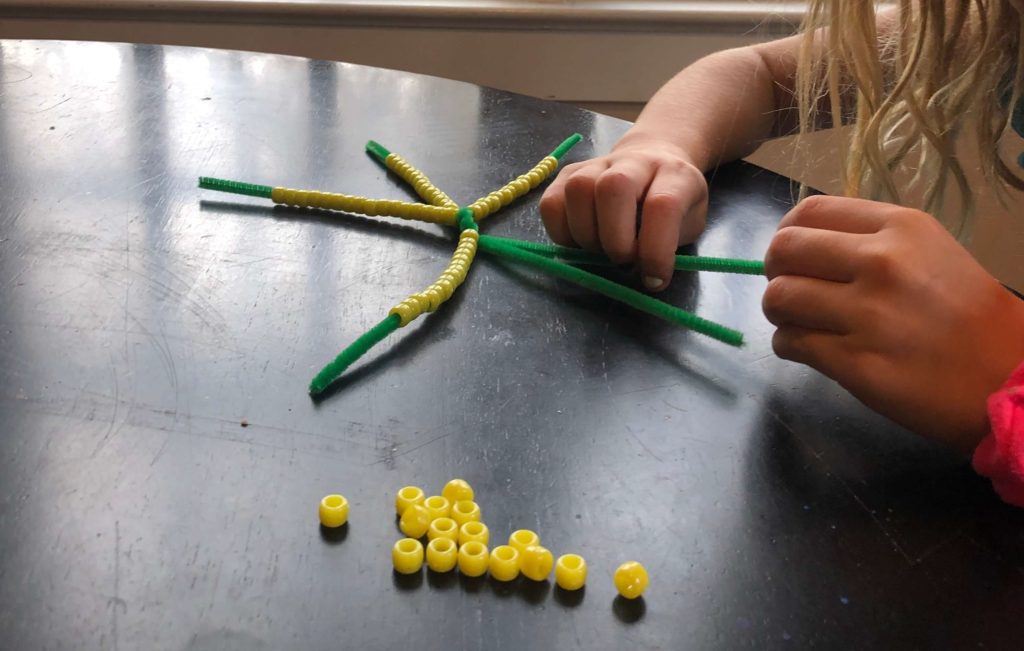
Add the beads to each chenille stem, working carefully. For younger crafters, bend the end of each stem over the last bead to hold it in place. Each prong can hold about 15 beads.
Carefully pull together all 6 prongs and pinch them together. Choose one (the longest, if there’s a standout) and tightly wrap around the other 5 as many times as it will go.
If the cob loses its shape during the process, gently squeeze it back into place. Fan out the chenille tips so they better resemble corn husks.
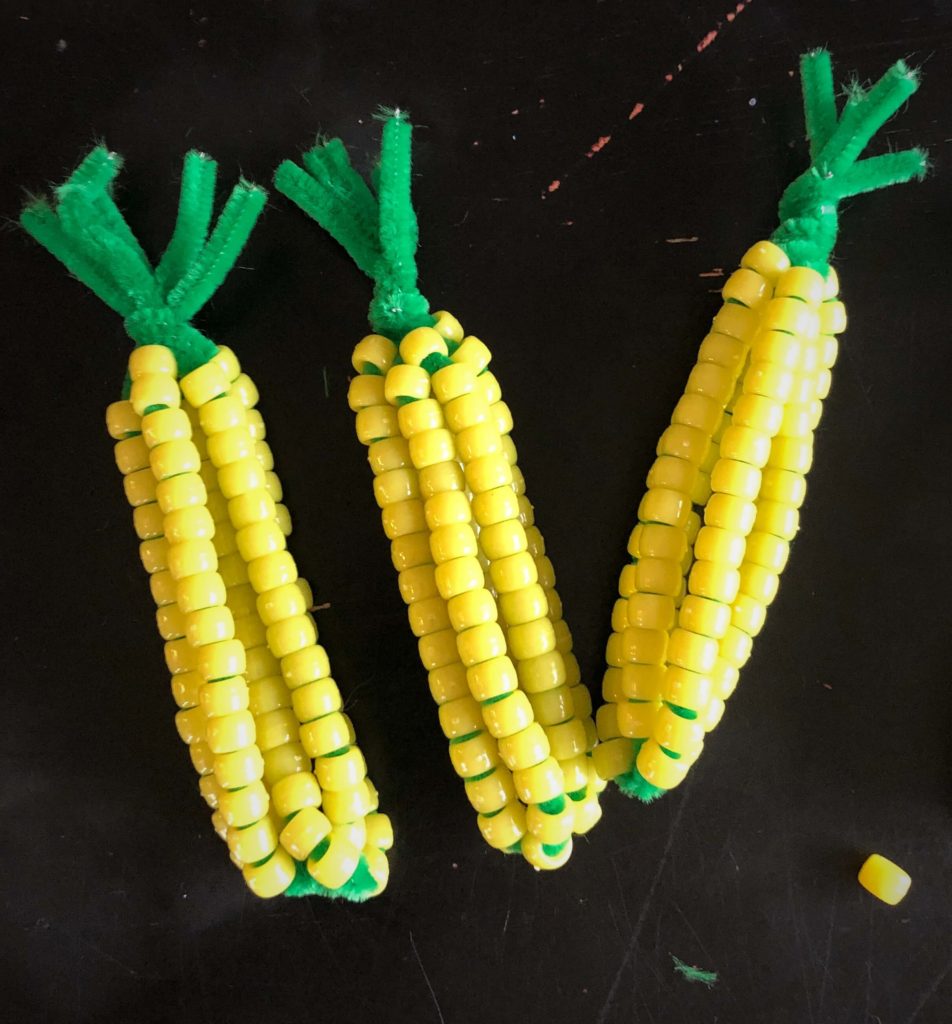
What will you do with your corn cob craft?


2 Comments
Andrew Caro
Cute! My tip for corn on the cob. Wrap each ear, still with husks, in plastic – I use the bags supplied in the supermarket produce dept. Freeze them wrapped this way, and the husks will protect the corn from freezer burn. When it’s time to cook there’s no need to defrost, just pop them in the microwave, bag and all. I have an old microwave, 3 to 4 minutes, then rotate and give it some more time. I have a very old microwave (1985!), so it might take 10-15 minutes to do two ears at a time. Be very careful when opening the bags and husking the corn.
Holly
That’s a great tip! I didn’t realize we could be enjoying corn with summer flavor all year long. (Sometimes we can buy it out of season, but it has no real taste.) Thank you!