Bleach Print T-Shirts
We let our creative kids try out just about anything they come up with, including crafts they’ve seen on YouTube or heard about from friends. When my 10-year-old approached me about making bleach print t-shirts, it seemed like a simple craft with a lot of potential.
Bleach Print T-Shirts
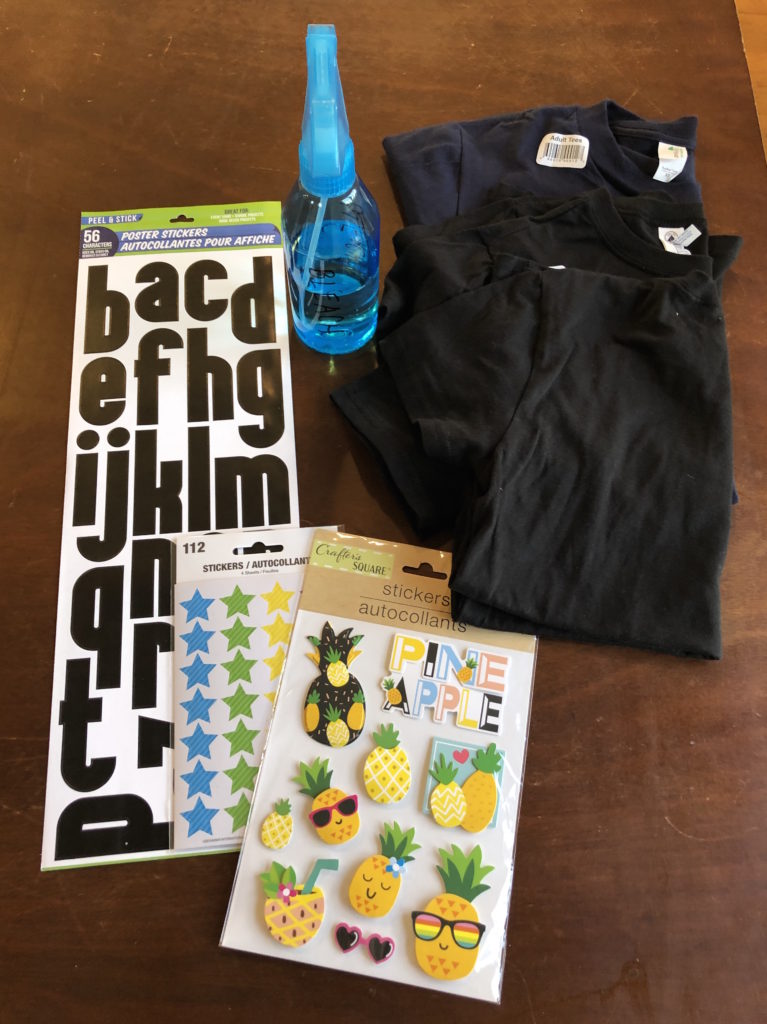
We picked up everything we needed at our local Dollar Tree. We didn’t have old t-shirts, so we picked up some irregular t-shirts there, too. (If you don’t have a Dollar Tree, there’s always Amazon!)
Materials
- bleach
- spray bottle
- stickers (large ones work best)
- t-shirts (dark colors work best)
We were out the door with 4 shirts and 3 packs of stickers for $8.48! (We already had the bleach at home, but it was available at Dollar Tree, too.)
Prepare
This craft should be done outdoors or in a ventilated area away from fabrics (tablecloths, couches, etc.).
Add bleach to the spray bottle and label it. If your kids will be spraying, fill half the bottle with water before adding the bleach. Shake well.
Create
First, lie your shirt out flat and smooth out any wrinkles. They can cause lines in your design, even if you don’t place your stickers there.
Next, place your stickers according to your design. (Remember that the sticker-covered areas will retain the original t-shirt color.) Be sure to smooth down the edges.
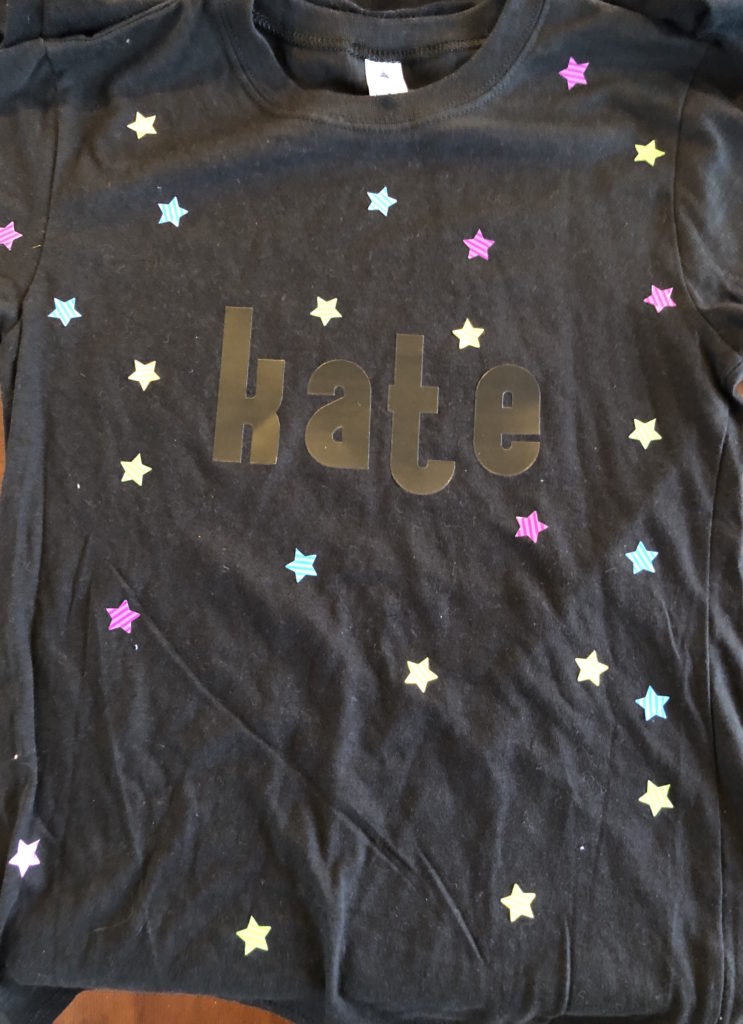
Spray the shirt evenly with bleach. Do one pass over each area. Wait two minutes for the color to fade, then reapply if needed.
Let the shirt dry completely. Peel off the stickers and it’s ready to wear!
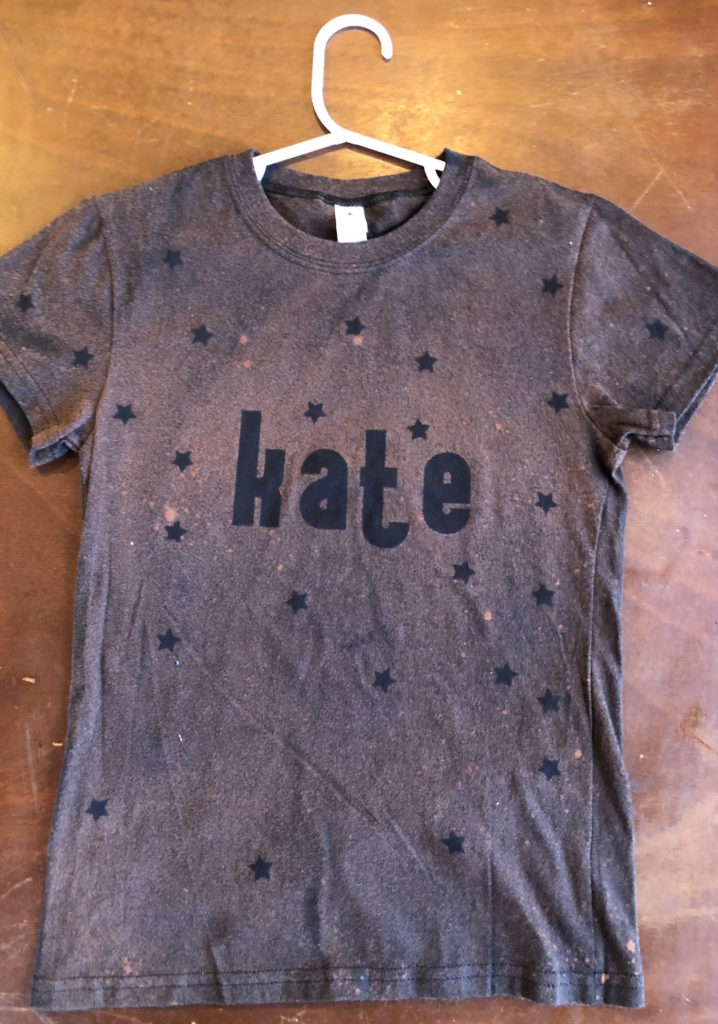
As you can see, they came out nice and crisp! Washing doesn’t affect the design, either.
Cardboard Stencils
We repeated this with a handmade stencil cut from cardboard. We used a tiny bit of glue stick to hold down the edges while we applied the bleach, then we quickly peeled it off. It did have to be washed before wearing, but it worked!
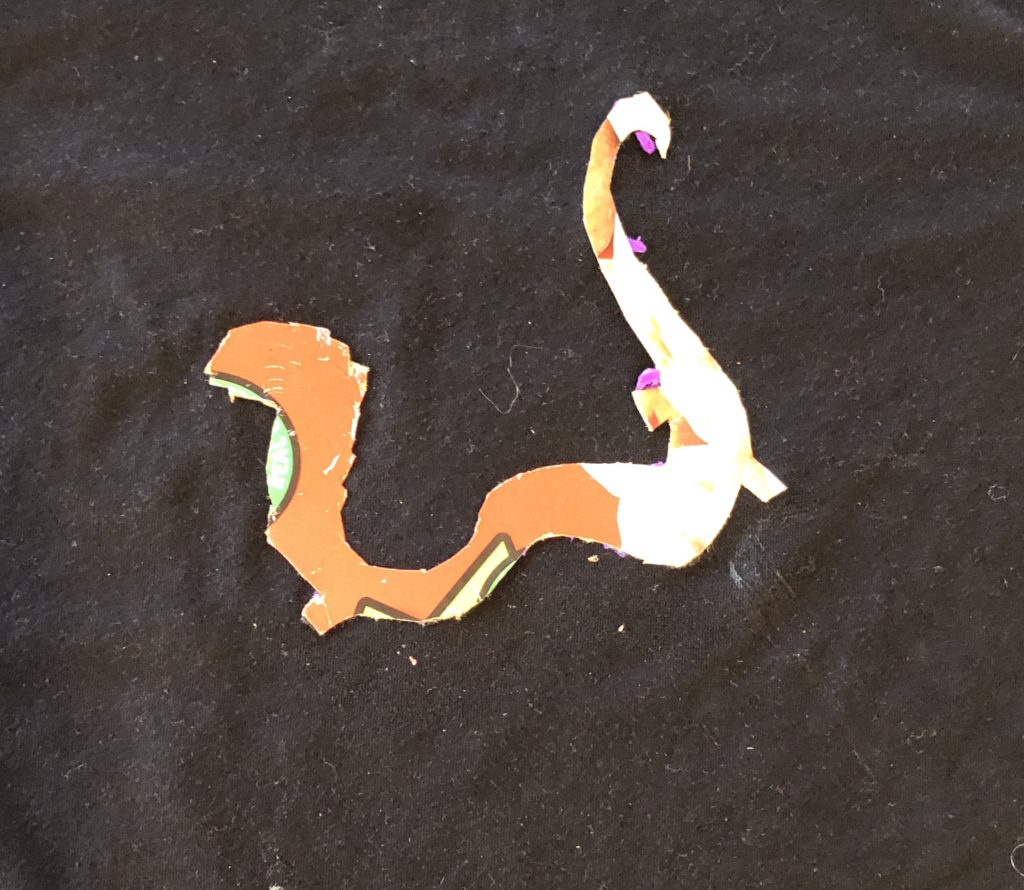
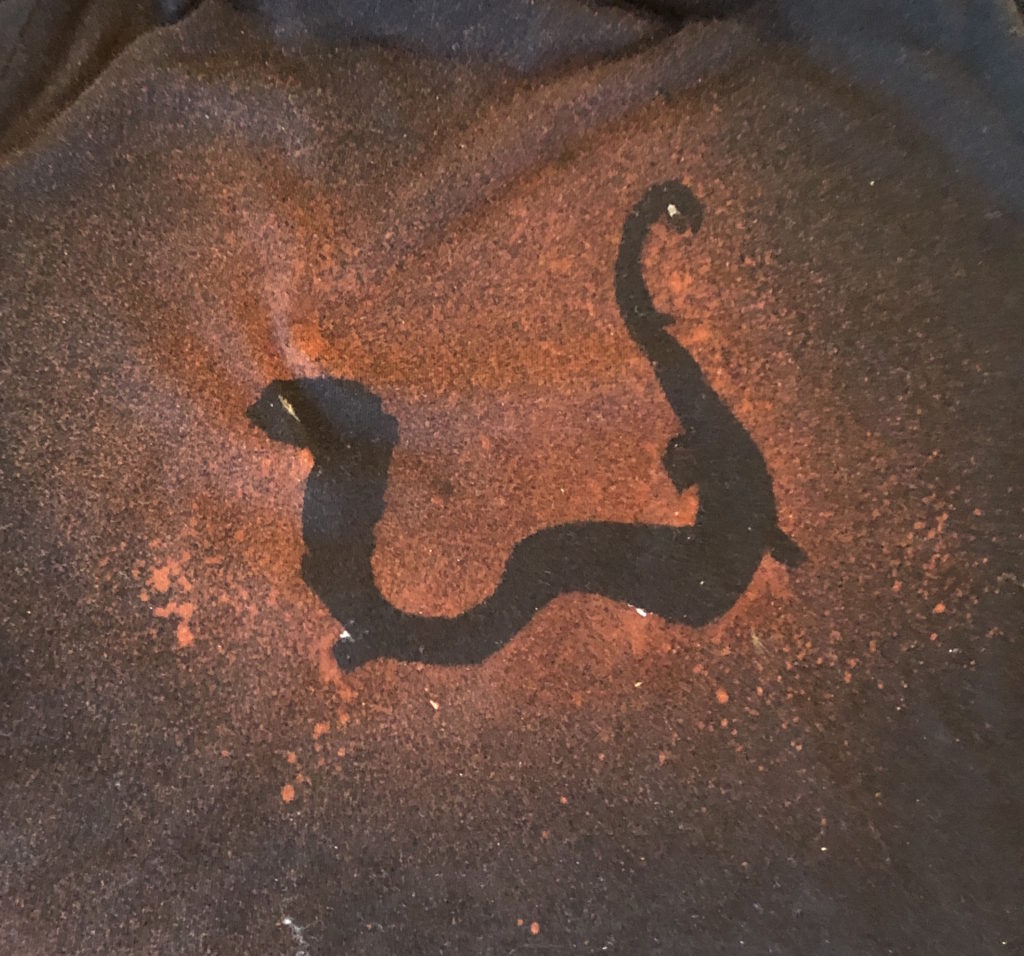
The most interesting part was that another black shirt came out with different colors when the bleach was applied! Instead of a pinkish hue, it was more orangish red.
Have you ever designed your own t-shirts with bleach?




2 Comments
Pingback:
Pingback: