Easy Homemade Soap
Yesterday our Governor issued a stay home order. We’ve been relying on crafts to stay busy. This easy homemade soap is a craft everyone enjoyed, plus it gave us a useful product to use around the house.
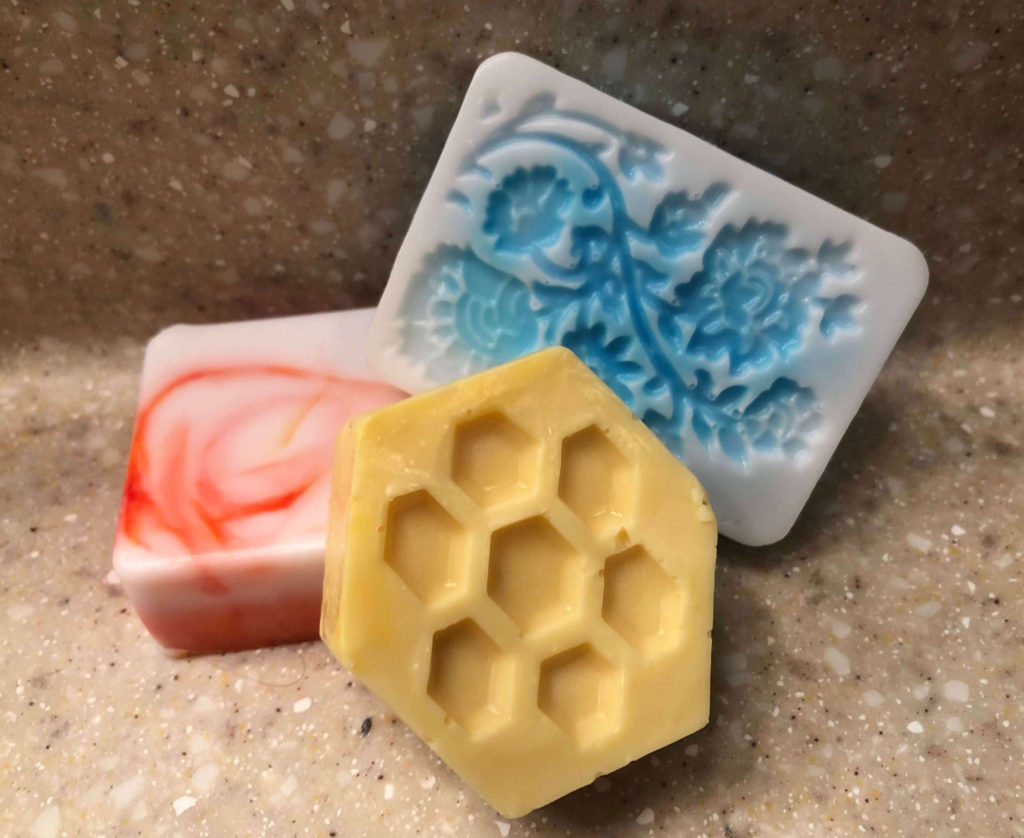
Easy Homemade Soap
We took a huge shortcut by making soap with a melt-and-pour base. By huge, I mean several weeks, as that’s the typical time it takes to cure cold- and hot-process soaps! Not only is using melt-and-pour base a shortcut, it’s much less dangerous as it doesn’t involve handling lye.
This base is what you’ll find in most kits and is widely available as a standalone purchase online. It comes in a variety of types, like olive oil, goat’s milk, and shea butter. Each has a different look and feel.
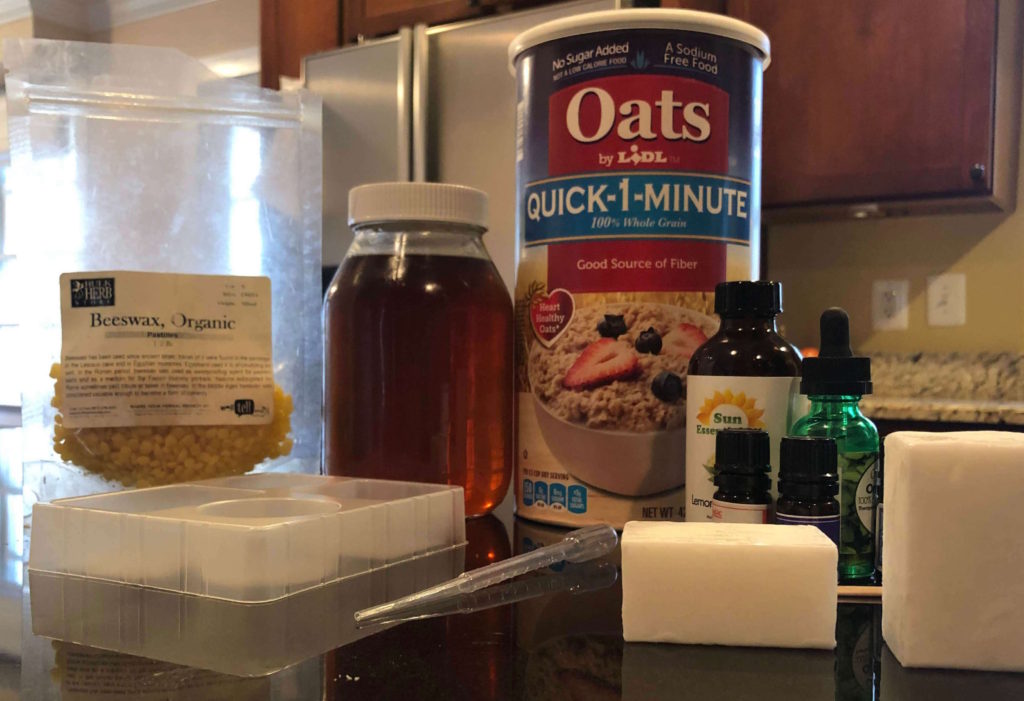
Required Materials
Optional Materials
- essential oil or fragrance
- soap colorant
- rubbing alcohol (in a spray bottle)
- kitchen scale
If you don’t want to assemble all of this yourself, you can simply purchase one of the many soap-making kits that already have the basic materials ready to go.
Setup
Prepare the amount of soap base you need. Determine how many bars you plan to make and how additives will change the volume. Use the kitchen scale or eyeball the amount you need, then chop this amount of base into large cubes.
Soap melts in a range between 120° and 160°. This range that doesn’t seem that hot, but can still burn. Use caution.
We used the microwave and found that 30 seconds for a first run was enough to melt a good amount of the soap without burning any. We stirred, then returned it to the microwave for 10-second bursts until completely melted.
Honey Hive Soap
My 4-year-old son chose to make honey soap in our honeycomb mold because he “likes bees but doesn’t like getting stung.”
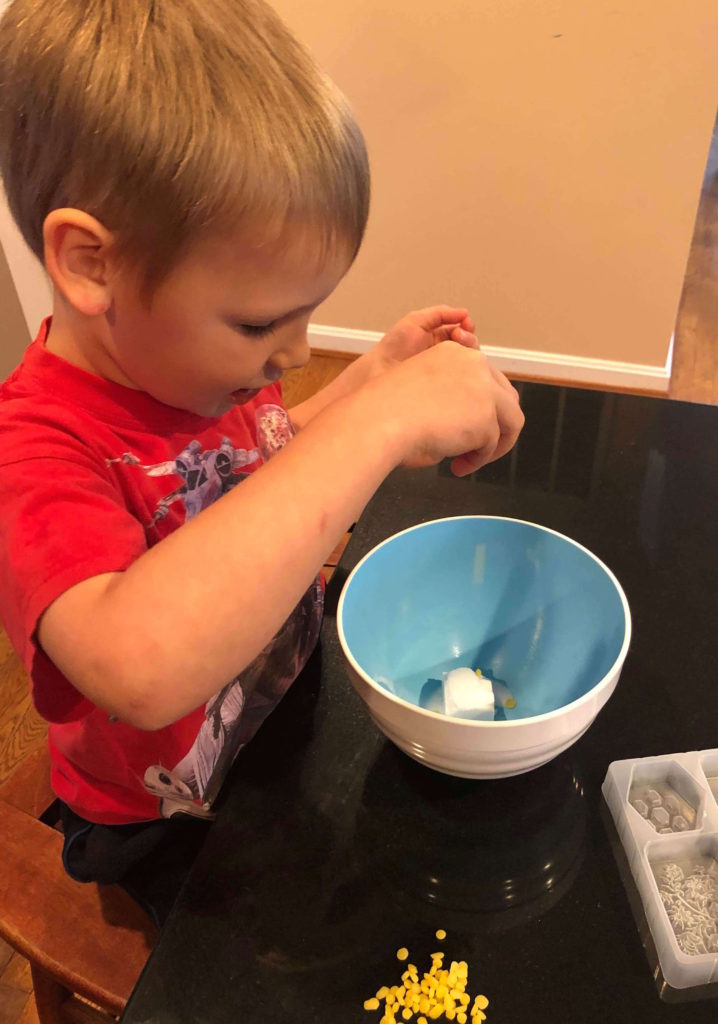
We used a goat’s milk base, melted and stirred until smooth. We added one teaspoon of honey to four ounces of soap, a few pellets of beeswax, one drop of yellow colorant, and one drop of the essential oil of his choice. Once mixed, we poured it into the base and allowed it to cool.
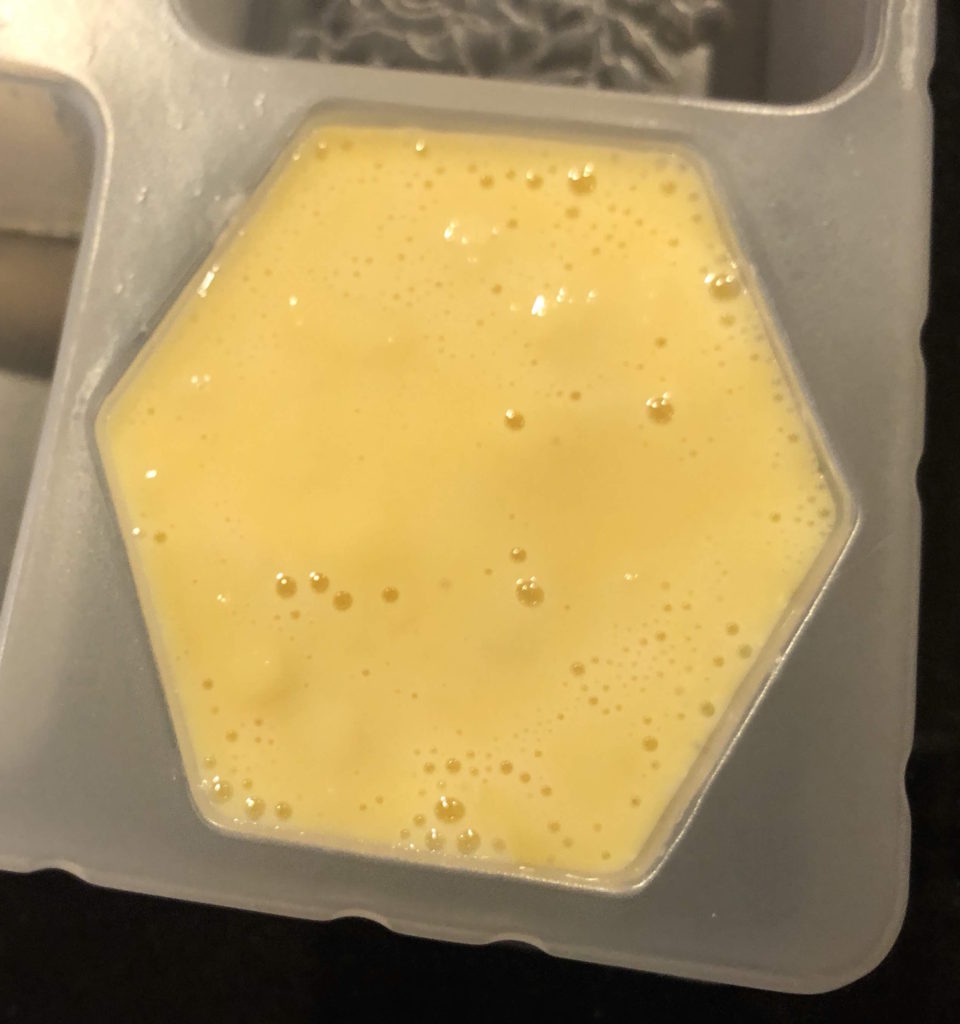
To minimize bubbles, spray with rubbing alcohol!
Lace Floral Soap
My 7-year-old daughter chose “the prettiest mold” and her favorite color.
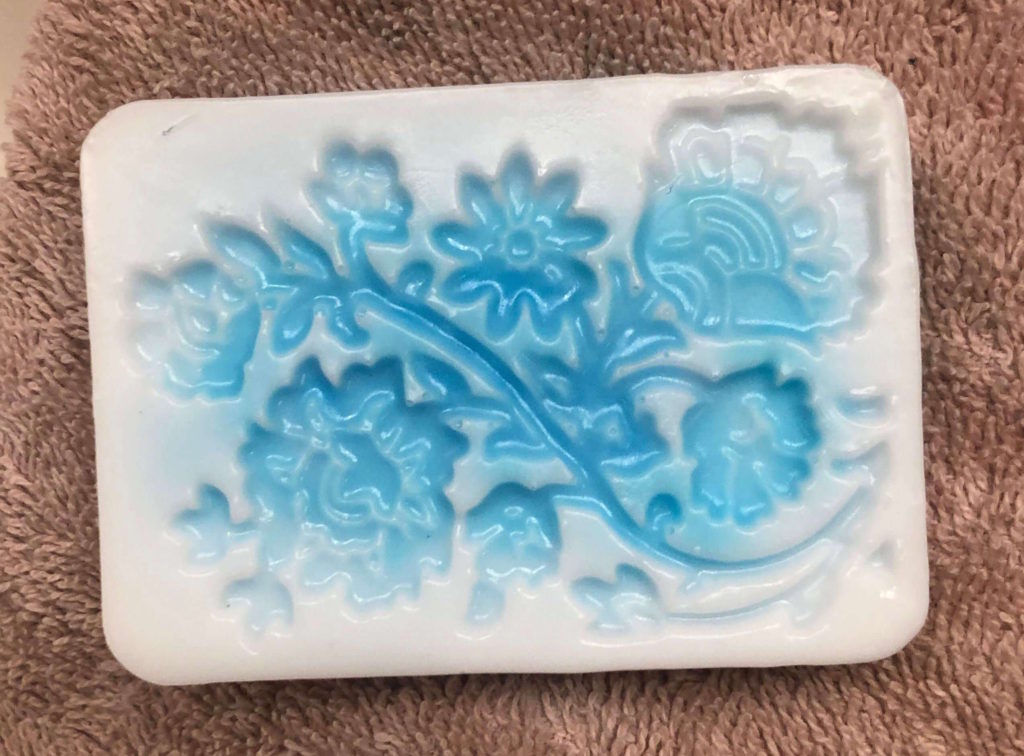
We used a goat’s milk base, melted and stirred until smooth, then we poured just enough of it in the flower mold to fill the wells of the design.
Next, we added a drop of essential oil, one tiny drop of blue colorant, mixed it until smooth, and poured some in.
Finally, one more drop, another mix, and a final pour. We had to work quickly so the soap didn’t cool too quickly!
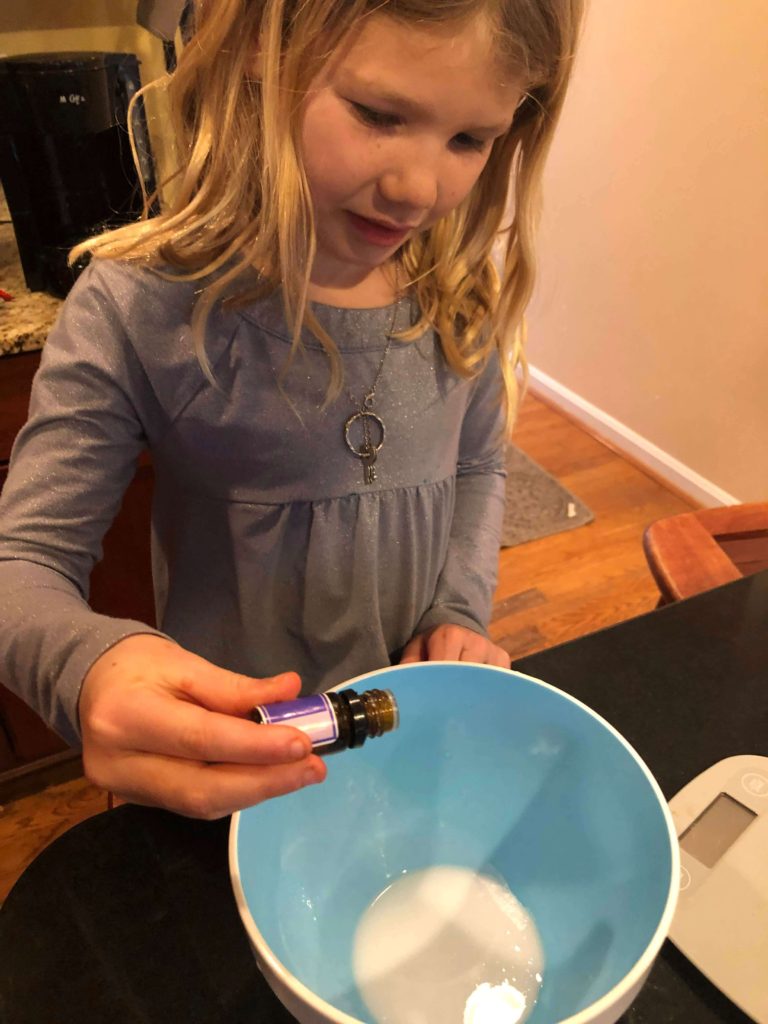
She was looking for more of a blend, but if you desire truly defined layers, allow the soap to cool before adding the next layer. You can also spray each later with rubbing alcohol to help the next layer adhere and work out any bubbles.
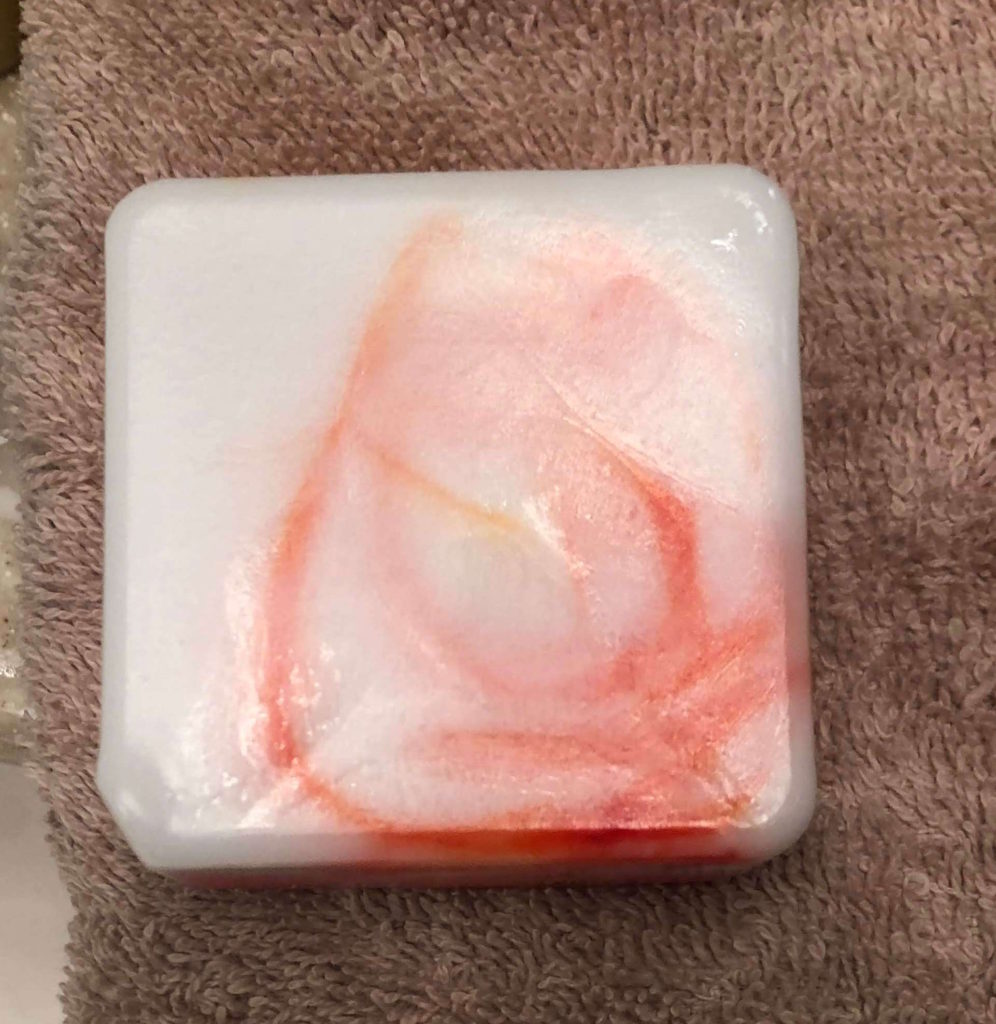
“Pour Painting” Soap
My 10-year-old daughter was inspired by the “pour paintings” that are all over YouTube these days.
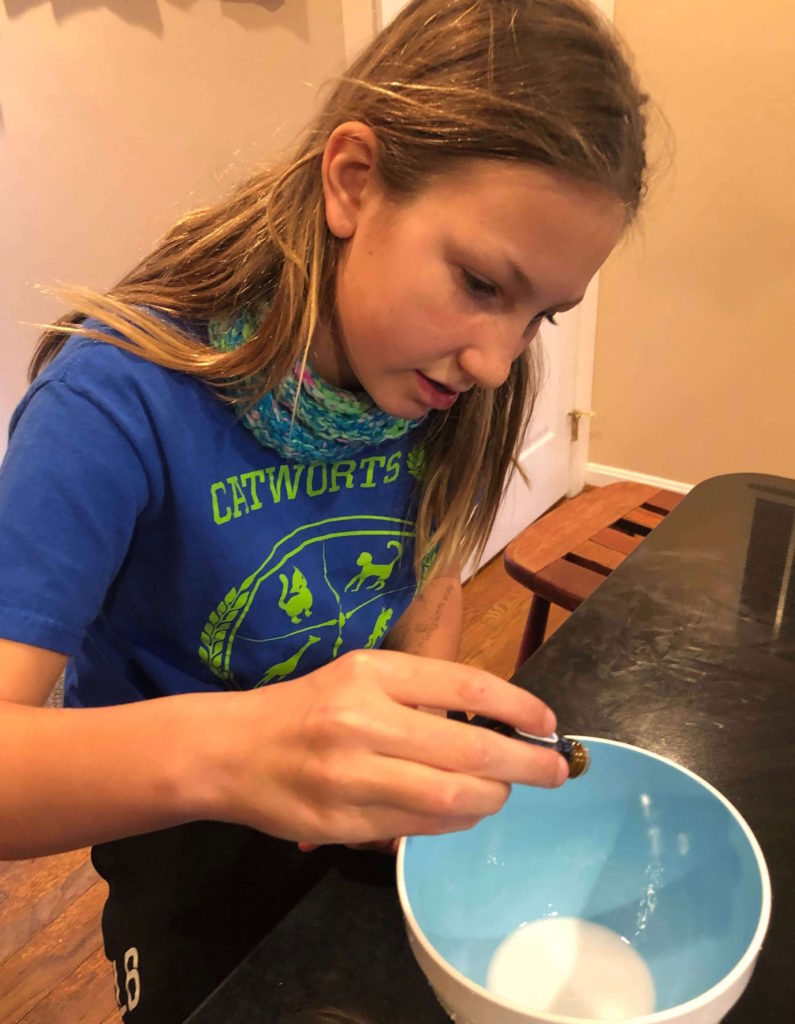
We used a goat’s milk base, a drop of essential oil, a square mold, and red and yellow colorants.
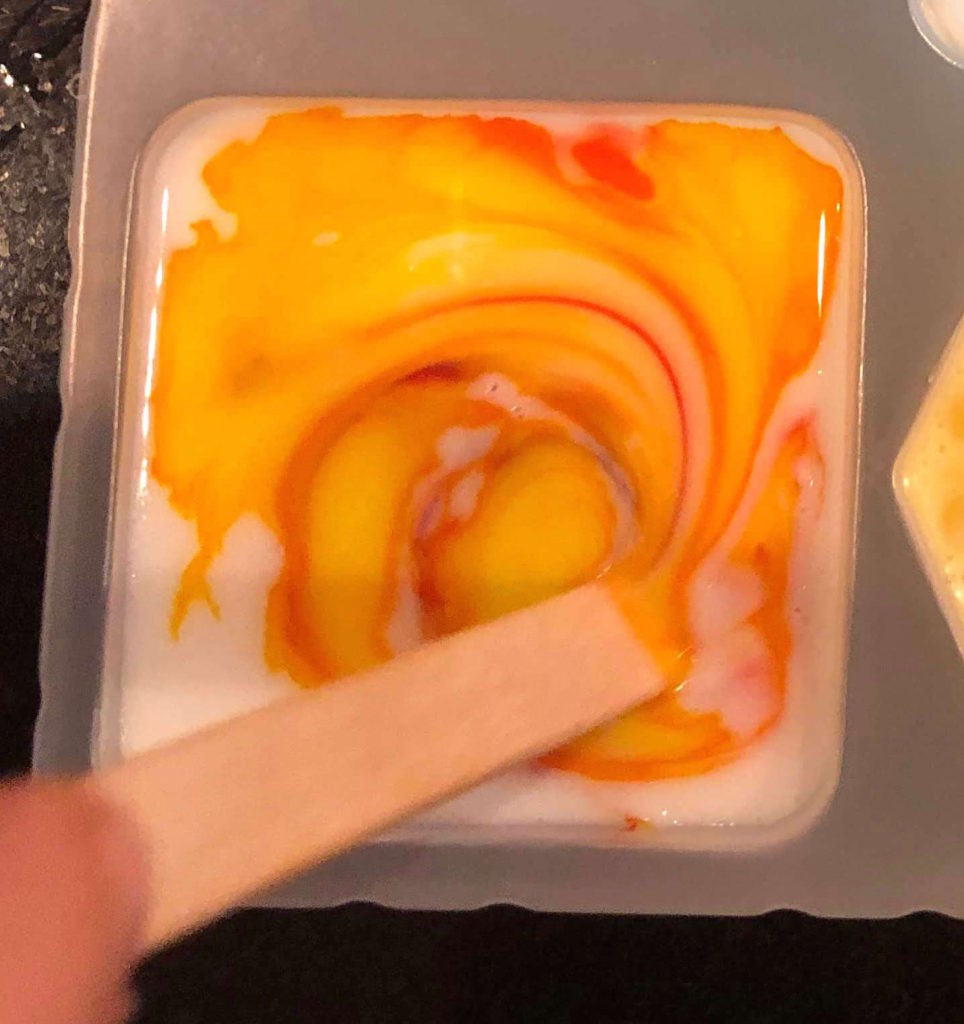
The pour didn’t work as expected because the soap was so thick and the mold was deep. We used a dowel to stir the soap before it cooled and were still able to mimic the effect.
Additives
I tried to encourage the kids to use oatmeal, coffee grounds, and any number of other kitchen additives we had on-hand. They refused, saying these were “mom things” to want in soap.
If you’re looking for other “mom things” for your soap, consider dried herbs or flowers, sea salt, milk, cocoa powder, sugar, poppy seeds, activated charcoal, or anything else in your cabinet that looks or smells good!



One Comment
Pingback: