Super Cute Scrunchie Set [Knitting Pattern]
Apparently scrunchies are back in. My daughters wear them in their hair, on their wrists, on their ankles, and on their water bottles. I knew the next thing I needed to design was a knitted scrunchies pattern.
The Super Cute Scrunchies Set was born! They are simple and fun and work up quickly. If you can knit in the round, you can knit these scrunchies, probably in an afternoon.
Download PDF | Add to Ravelry Queue | Pin on Pinterest
More At Yarn’s Length Knitting Patterns
Super Cute Scrunchie Set
Knitting Pattern
The Super Cute Scrunchie Set includes patterns for scrunchies in four different textures. Any fine or fingering weight yarn will work for this knitted scrunchies pattern, even scraps!
To view our terms of use for all knitting and crochet patterns, see our Terms of Service.
Materials
Yarn:
40yd/10g of Lion Brand Bonbons in Nature
(for each scrunchie)
Needles:
US #6/4.00 mm dpn
Notions:
crochet hook: size G/4.00 mm (for seaming)
finishing needle
stitch marker (1)
Other Supplies:
hair elastics (5″/standard size)
Notes
Gauge:
24 sts x 32 rows = 4″ x 4″ in Stockinette stitch
Abbreviations
BO – bind off
CO – cast on
k – knit
p – purl
Special Technique
The Scrunchies
All of the scrunchies are worked in the round and seamed closed. Be sure to leave a long, long tail — longer than you think you’ll need! Otherwise, you may end up seaming with a different color.
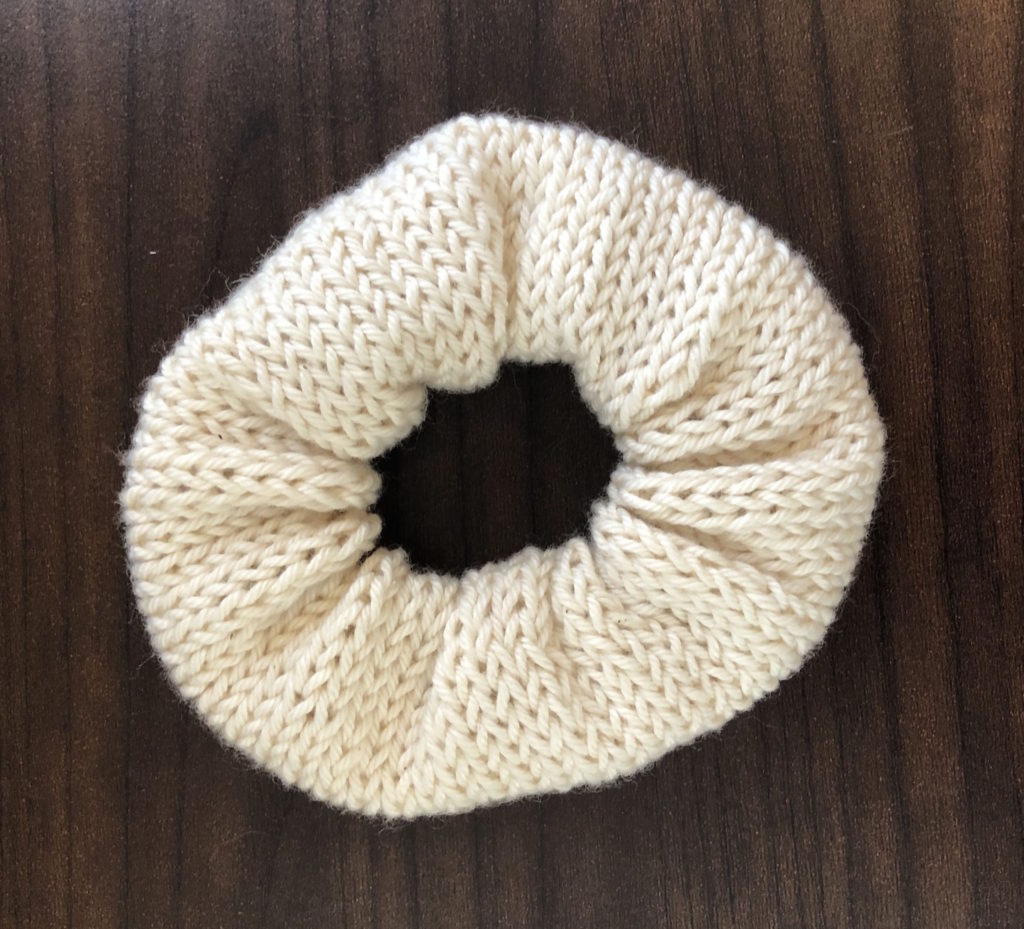
Knitted Scrunchies Pattern: Stockinette Scrunchie
A simple, elegant stitch results in a simple, elegant scrunchie!
Setup
CO 60 sts. Join in the round, taking care not to twist.
Body
Knit all rounds until piece measures 2.5″ long (about 22 rounds).
Finishing
BO all sts, leaving a very long tail.
Place elastic on wrong side of work and fold fabric over it.
Using crochet hook, seam the ends together.
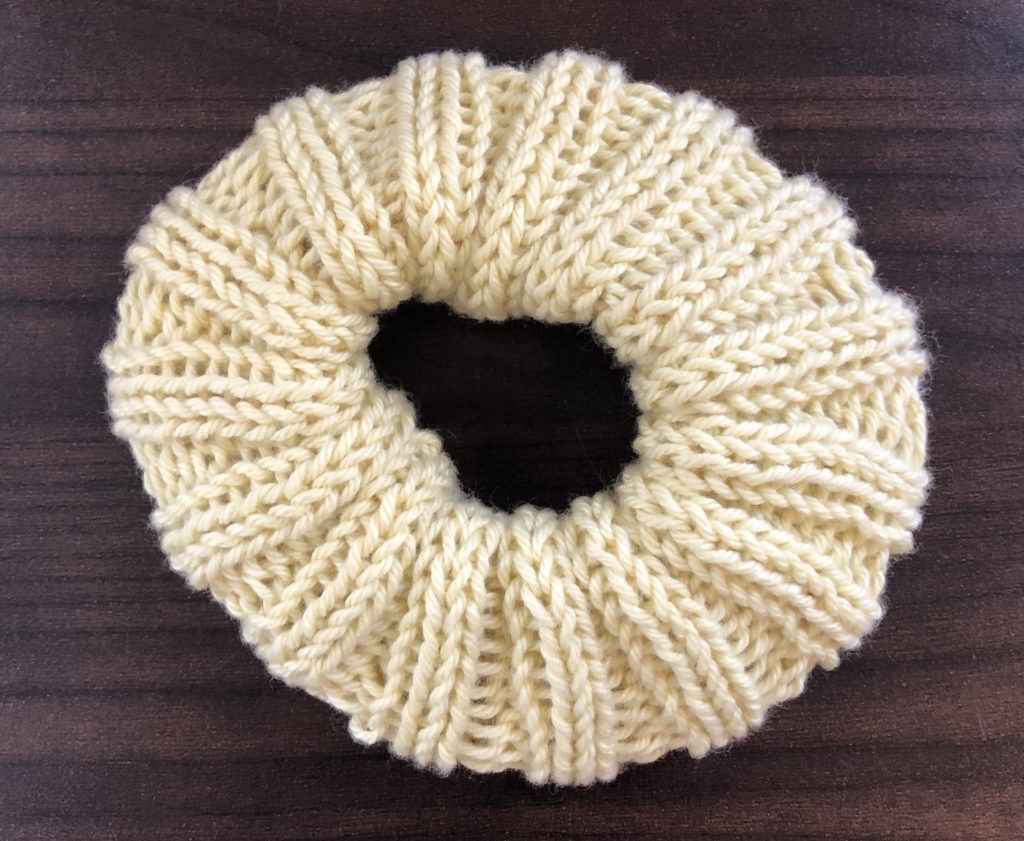
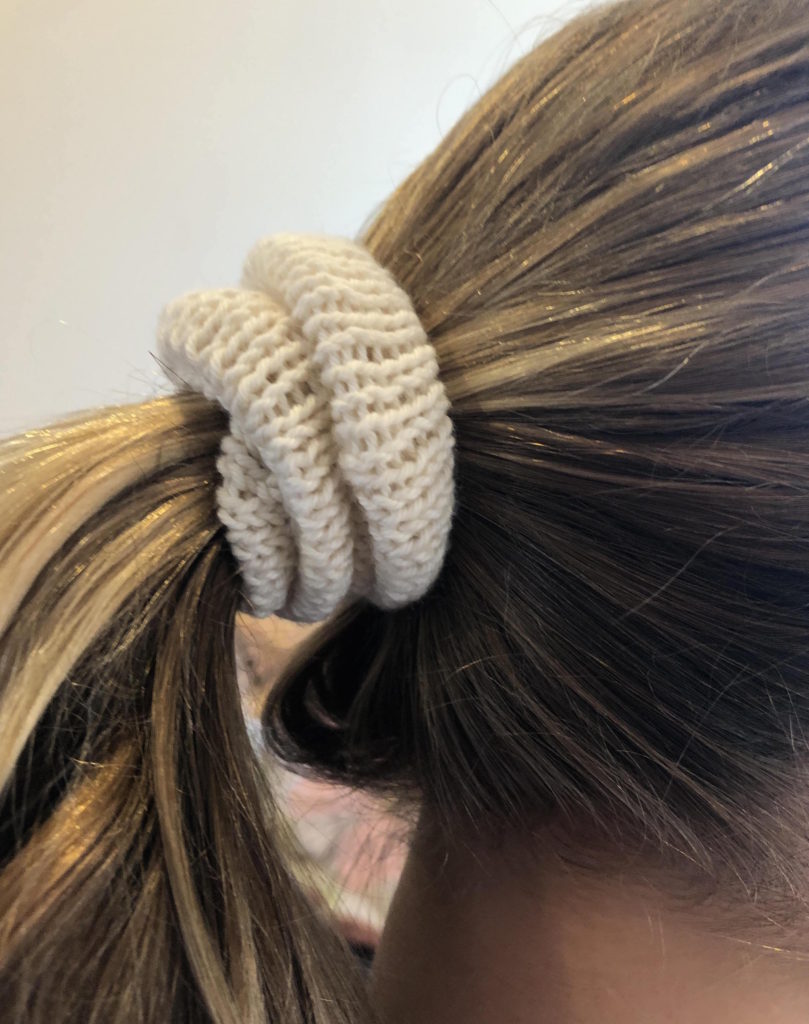
Knitted Scrunchies Pattern: Ribbed Scrunchie
2×2 ribbing enhances the scrunch!
Setup
CO 64 sts. Join in the round, taking care not to twist.
Body
Work in 2×2 rib (*k2, p2*) until piece measures about 2.5″ long (about 22 rounds).
Finishing
BO all sts, leaving a very long tail.
Place elastic on wrong side of work and fold fabric over it.
Using crochet hook, seam the ends together.
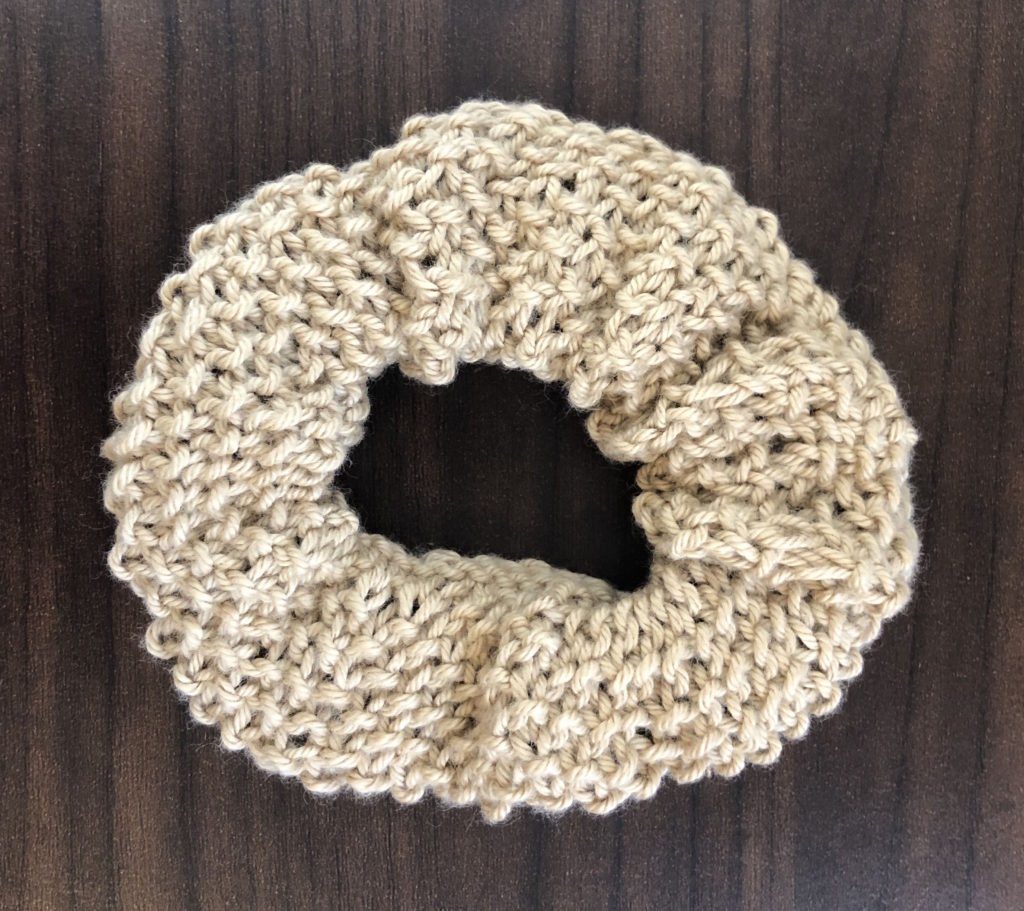
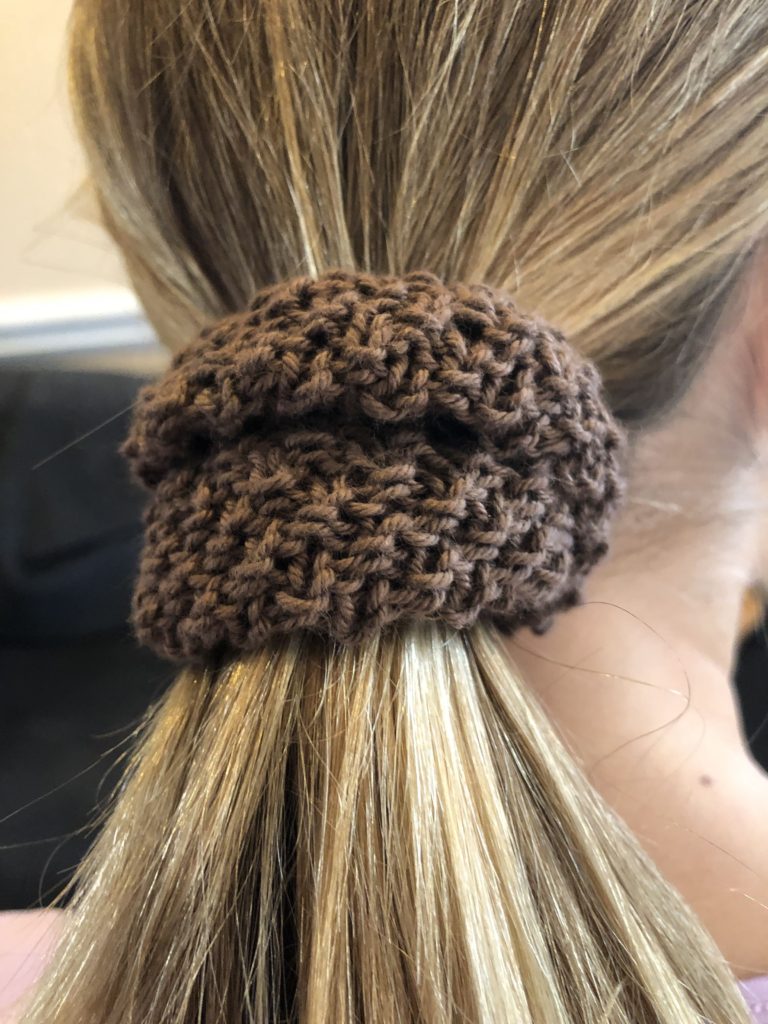
Knitted Scrunchies Pattern: Seed Stitch Scrunchie
This texture looks particularly nice on straight hair!
Setup
CO 61 sts. Join in the round, taking care not to twist.
Body
1 – *k1, p1* end k1
2 – *p1, k1* end p1
Repeat these two rounds until piece measures about 2.5″ long (about 22 rounds).
Finishing
BO all sts, leaving a very long tail.
Place elastic on wrong side of work and fold fabric over it.
Using crochet hook, seam the ends together.
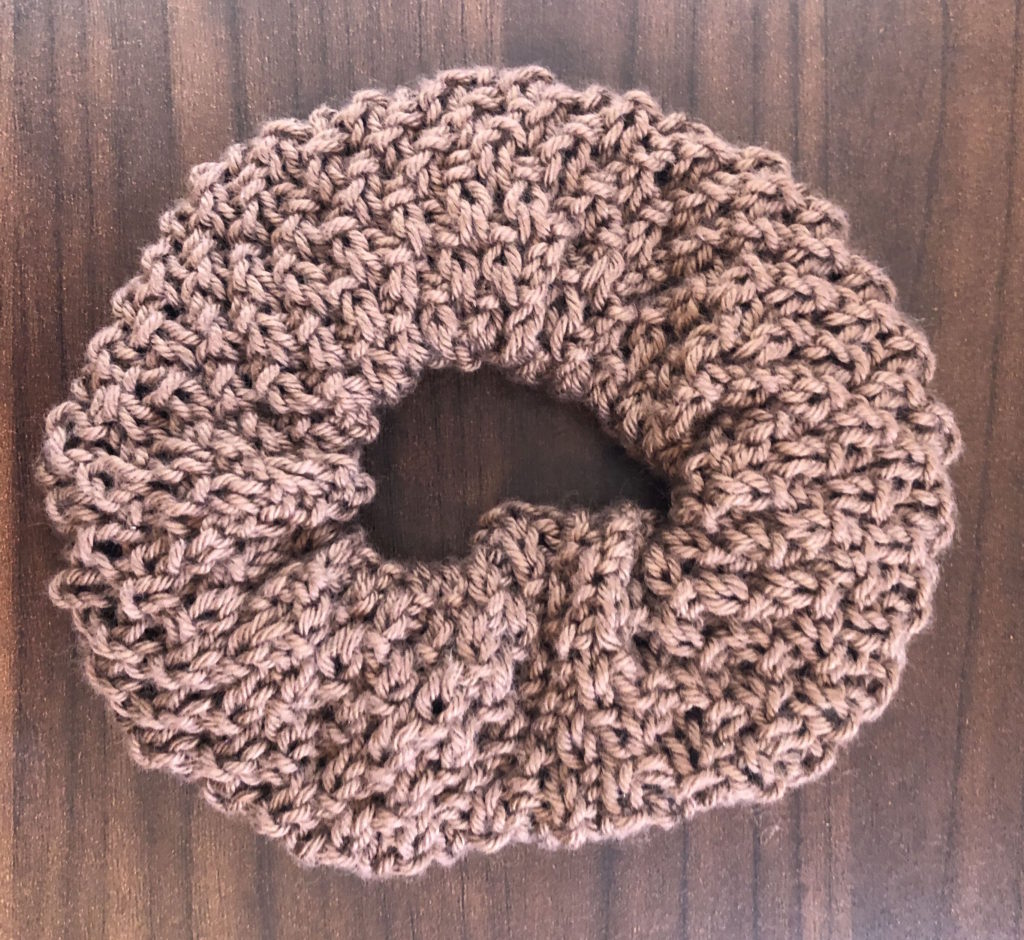
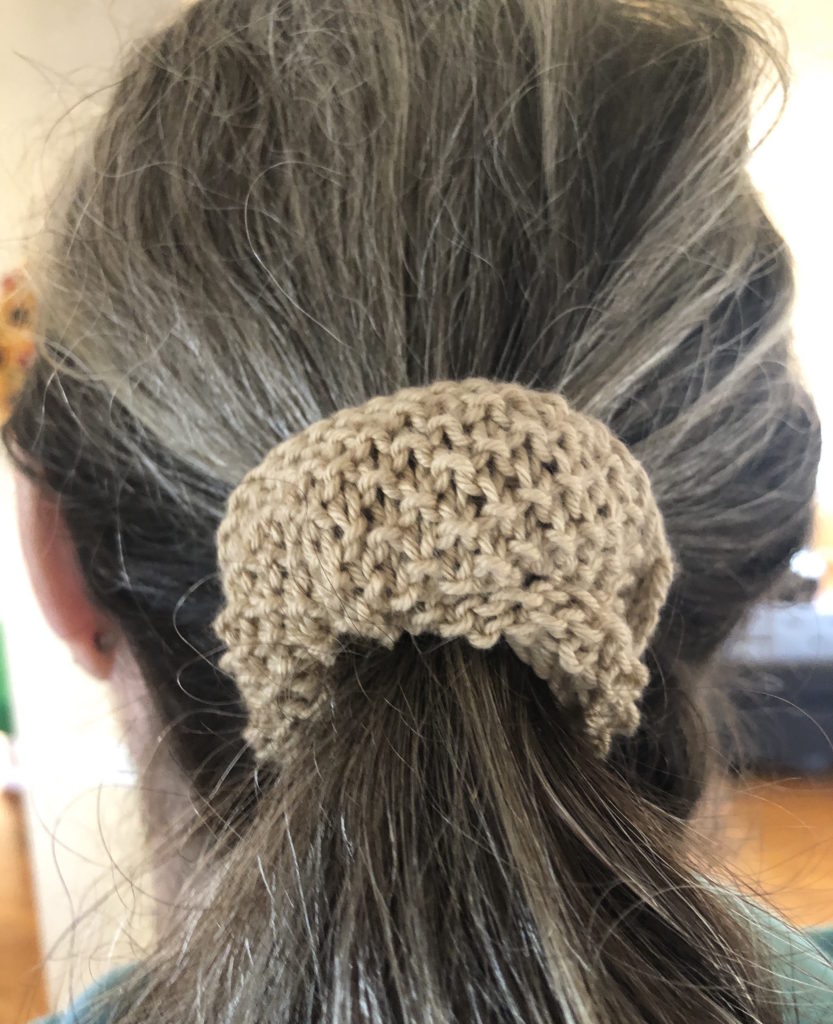
Knitted Scrunchies Pattern: Moss Stitch Scrunchie
An elongated version of seed stitch, moss stitch is a bit more interesting to work (and to look at).
Setup
CO 60 sts. Join in the round, taking care not to twist.
Body
1 and 2 – *k1, p1*
3 and 4 – *p1, k1*
Repeat these 4 rounds until piece measures 2.5″ long (about 24 rounds).
Finishing
BO all sts, leaving a very long tail.
Seaming
Place elastic on wrong side of work and fold fabric over it.
Using crochet hook, seam the ends together.
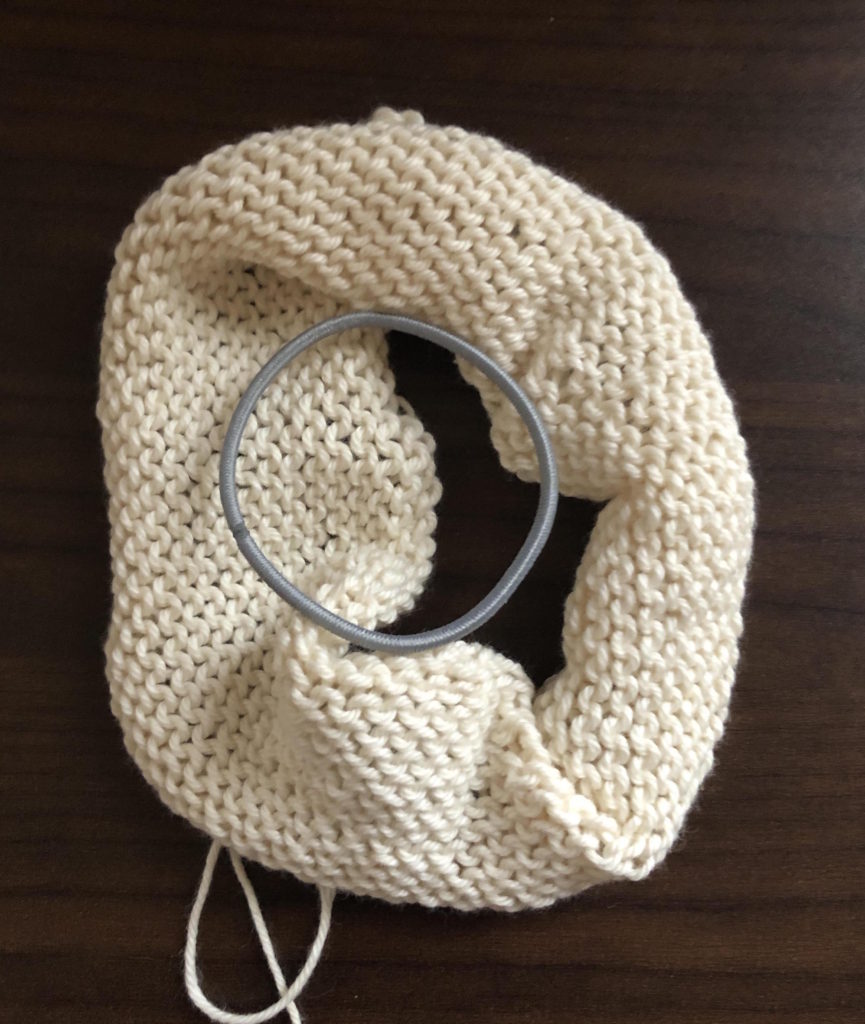
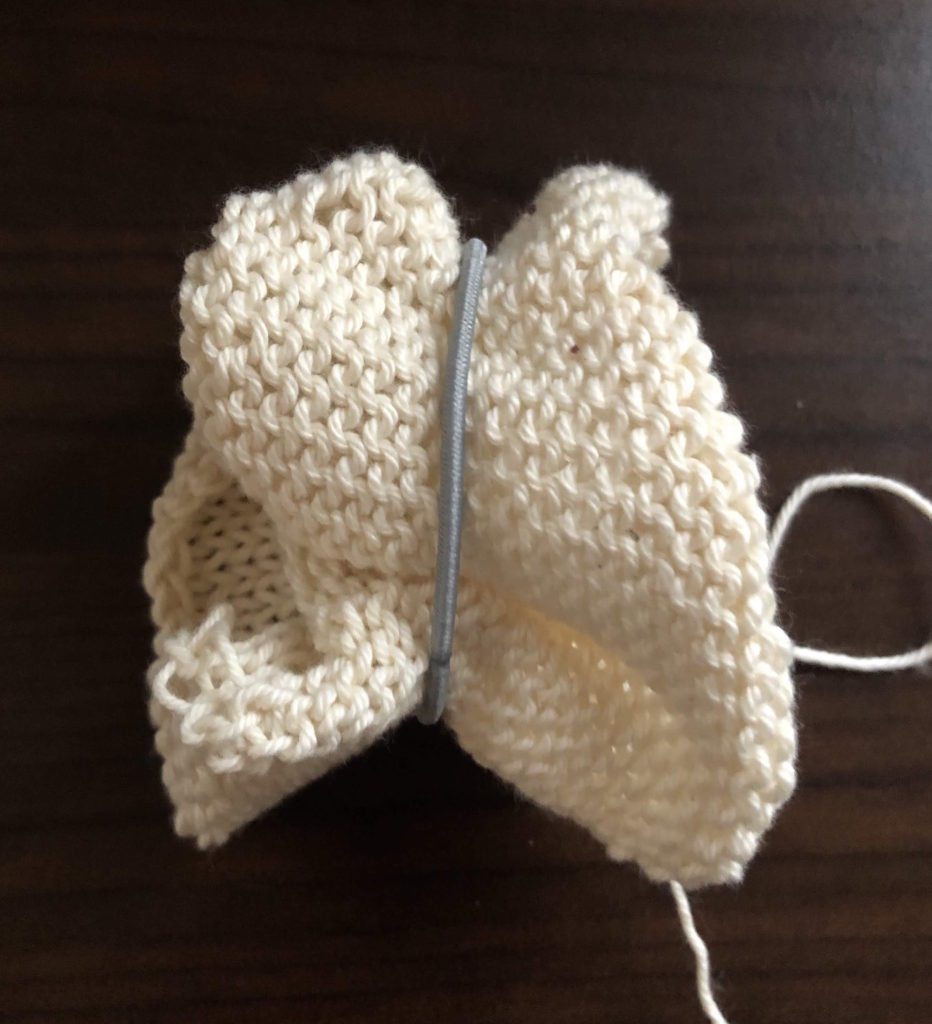
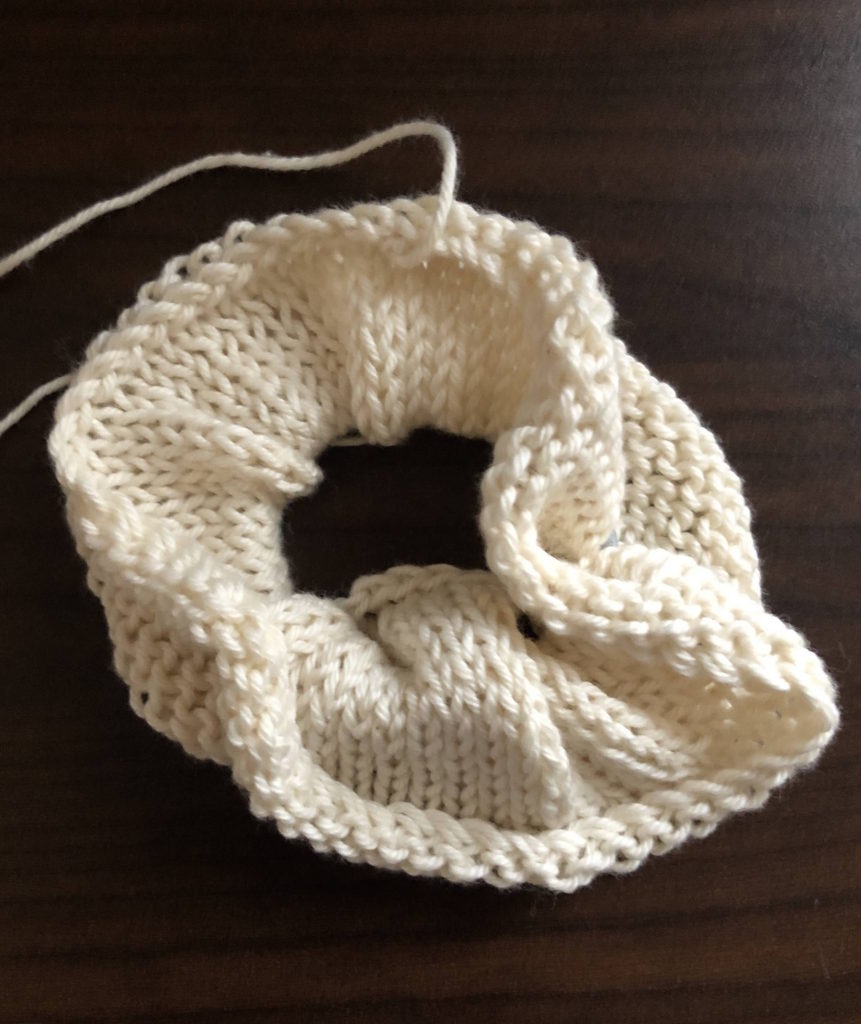
After seaming, turn the fabric around the elastic so that the seamed portion of the fabric is what makes contact with your hair. This hides the seam and gathers the fabric.
Not sure what I mean? Check out this video, inspired by Nicole’s questions in the comments below.


23 Comments
Wanda Phillips
Great patterns thank you for these
Holly
You’re so welcome!
Leanne Parker
Very nice patterns, thanks for sharing!
Holly
You’re so welcome!
Maria V. Arnold
Do you have a video of the crochet closure? I am not well versed in crochet and am having a hard time imagining how it works. Thanks!!
Holly
Hey, Maria! I made you a quick video. I hope it helps! Let me know if you need more clarification.
SisterSu
I really like how you set up this post offering different versions (eg. adfree). Plus the layout is really easy to follow, even for a beginner like me! Thanks for all your hard work. I pinned it to my Knit Wits Pinterest board.
Holly
Yes, I tried to make it accessible for everyone. Thank you for pinning it! Enjoy 🙂
Donna-Jean Goodfellow
I casted on the 60 stitches but now to knit in the round it’s very difficult . I got a US 6 needle 16 inches. Do they come smaller because there is no way I can knit on these. What am I doing wrong?
Donna-Jean Goodfellow
Disregard my previous reply. I was sent the wrong size yarn, a number 2.
Holly
Oh no! How is it going for you now?
Nicole
Question, did you seam the ones pictured in a different way other than with the crochet finish? I made one, from your instructions, but the seam is huge and kinda bulky. In your photos I don’t see the crochet edge, I like the smoothness and seamless look way better than the chunky seam. Can you help me out?
Holly
Hi Nicole — I actually did use the crochet seam! I turned the fabric so that the seams were on the inside of the donut shape rather than the outside edge. It holds better that way because the seam is tight and the cinching is what makes it scrunch. You can see it in the images of the seed stitch and moss stitch versions, though it’s more obvious in the seed stitch.
I hope this helps! If you still have trouble, please reach out again.
Nicole
OK! That sounds great, I’m still super to new to knit & crochet so i’m having trouble figuring out how to switch everything to the inside. I watched your video for Maria and i followed that but my stiches are all on the outside. Would you be able to make anoter quick video of how you switch it around to the inside? Also thanks so much for getting back so fast!
Holly
Hey Nicole — By “inside” I don’t actually mean the interior of the fabric, just the inner circle of the scrunchie itself.
In other words, the seam (on the exterior) should in the middle rather than the outside edge. When using the scrunchie, the seam should make contact with your hair.
Does that sense?
I’ll see if I can make a video for you that makes sense.
Holly
Nicole, watch this and see if it helps!
https://youtu.be/V8-WnwOdEY4
Nicole
Holly, thank you som much for taking the time to help me out! I really appreciate it, I get what you’re saying now. I think I need to make my seam tighter, it’s a little too bulky to push in the middle. I’m going to give it another go. Thank you again for all your help!!
Holly
You’re welcome! I hope it helped. I’d love to see them when you’re done!
Pingback:
Pingback:
Pingback:
Pingback:
Pingback: